


How to Install Shocks on a Truck (Front and Rear, Hand Tools Only)
Step-by-step guide to replacing front and rear shocks on a truck with basic hand tools — plus how to pick the right shock for your rig.
The Short Answer
Replacing shocks on a truck is a genuine DIY job — front and rear — and you can finish both axles in an afternoon with a floor jack, jack stands, basic sockets, and a torque wrench.
| Job | Typical DIY Time | Typical Parts Cost (per axle pair) | Alignment Needed? |
|---|---|---|---|
| Rear shocks (solid axle) | 1–2 hrs | $80–$350 | No |
| Front shocks (solid axle / twin-I-beam) | 1.5–3 hrs | $100–$400 | Rarely |
| Front shocks (IFS) | 2–4 hrs | $120–$500+ | Sometimes |
| Corner module (IFS w/ integrated hardware) | 2–4 hrs | $300–$1,800+ | Yes |
Prices are market ranges. For your exact fit and today's pricing, use the part finder at the bottom of this page. ---
What You'll Need Before You Start
Don't skip the prep. Half of a stuck job comes from not having the right stuff nearby. Tools:
- Floor jack (at least 3-ton for full-size trucks)
- Two or more rated jack stands
- Breaker bar or impact wrench
- Ratchet and socket set (metric and standard)
- Torque wrench
- Combination wrench set
- Penetrating oil (PB Blaster or equivalent — spray hardware 24 hours ahead if possible)
- Rubber mallet
- Wheel chocks
Supplies:
- New shocks (always buy in pairs per axle)
- Factory service manual or a reliable online source for your truck's torque specs
- Nitrile gloves
- Safety glasses
Optional but helpful:
- Impact gun (cuts time significantly on rusty hardware)
- Spring compressor (only needed if you're replacing struts — most trucks don't have them)
Safety First — and We Mean It
Working under a truck can kill you if the vehicle falls. Every time, no exceptions:
- Park on a flat, hard surface. 2. Chock the wheels that stay on the ground. 3. Never work under a vehicle supported only by a floor jack — always transfer weight to rated jack stands before going under. 4. Wear eye protection. Old shock hardware and spring tension can throw debris. ---
How to Replace Rear Shocks on a Truck
Most body-on-frame trucks (F-150, Silverado, Ram 1500, Tacoma, Tundra, etc.) have a solid rear axle or a coil-linked rear with two standalone shock absorbers. This is the easier end to start on. ### Step 1 — Lift and Support the Rear
Jack up the rear of the truck at the frame rails (not the axle) and place jack stands under the frame. Then lower the floor jack and slide it under the rear axle housing — you want the axle loosely supported so it can drop freely when you remove the shock, but it should not be hanging unsupported. ### Step 2 — Locate the Shock Mounting Points
The upper mount is usually a bolt through a frame bracket. The lower mount bolts through an axle bracket or a separate eye on the axle tube. Spray both bolts with penetrating oil if you haven't already. ### Step 3 — Remove the Old Shock
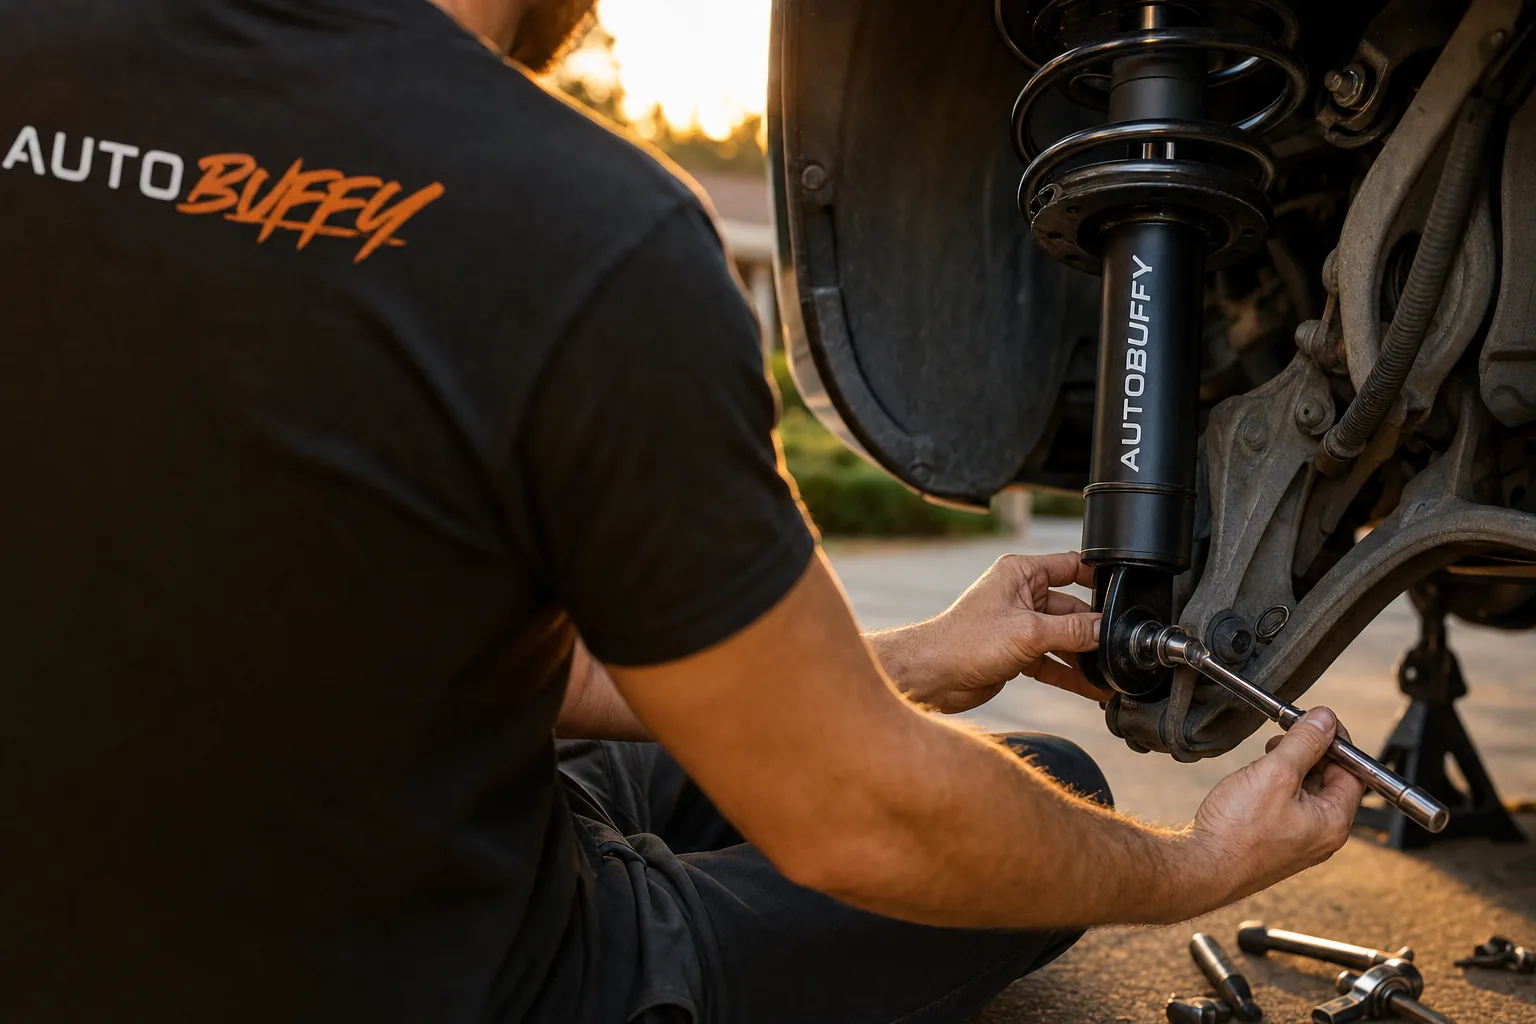
- Hold the shock shaft with a wrench or locking pliers to prevent it from spinning while you break loose the nut. - Remove the upper mounting bolt or nut first, then the lower. - Pull the shock out. It may be stiff — a rubber mallet tap on the bracket helps. ### Step 4 — Compare Old and New
Hold the new shock next to the old one. Compressed length and extended length should match closely. If there's a significant mismatch, verify part fitment before proceeding. ### Step 5 — Install the New Shock
- If the new shock has a straight shaft at the top (stem mount), thread the nut on by hand before anything else. - Position the shock, align the lower eye with the axle bracket, and hand-thread the lower bolt. - Tighten upper hardware first, then lower — but don't fully torque until the suspension is at ride height. Tightening a shock mount at full droop binds the bushing and causes premature wear. - Let the axle rise to ride height (set the jack to approximate loaded height), then torque both mounting points to spec. ### Step 6 — Repeat on the Other Side
Same process. Don't skip the second side — a mismatched pair handles worse than two worn-out shocks. ---
How to Replace Front Shocks on a Truck
Front shock replacement depends on your suspension type. Solid front axle (older body-on-frame trucks, some 4x4s) is the simplest. Twin-I-beam (older Ford trucks) is similar. Independent front suspension (IFS) adds a few steps. ### Step 1 — Lift and Support the Front
Jack the frame, set stands, then support the lower control arm (IFS) or the axle (solid front axle) with the floor jack at approximately ride height. ### Step 2 — Access the Upper Mount
On trucks with upper shock mounts inside the engine bay (common on IFS trucks), you'll access the top nut from under the hood. On solid-axle trucks, the upper mount is often an external bracket on the frame — straightforward. - Remove the wheel if you need more access room or if hardware is tight to reach. - On IFS upper mounts inside the engine bay: hold the shaft with a socket or open-end wrench and loosen the nut with another wrench. Don't let the shaft spin freely or you'll round it. ### Step 3 — Remove the Lower Mount
The lower bolt usually passes through the lower control arm bracket or a dedicated shock mount on the axle. Spray ahead of time. Remove this bolt and let the shock drop. ### Step 4 — Install the New Shock
- Slide the new shock into position — lower mount first, then route the upper shaft through its mount hole. - Thread hardware hand-tight. Do not torque yet. - Once both ends are installed and the suspension is at ride height, torque to spec. ### A Note on Corner Modules
Higher-end applications — especially performance or heavy-duty trucks — sometimes use shock assemblies that integrate the shock body, mount hardware, and sometimes a coilover sleeve into a single corner module unit. These are more involved to install (you're essentially replacing a larger subassembly) but the basic process is the same: support the suspension, remove old hardware, swap the unit, torque to spec, verify ride height. If your truck uses corner modules, Bilstein offers 60mm units for select fitments that are worth considering for longevity and performance. Use the finder below for exact compatibility. ---
Which Shock Brand Should You Buy? Here's an honest take, not a sales pitch. For a daily-driver truck that stays mostly on pavement, **KYB Excel-G or Monroe OESpectrum** shocks are solid, affordable choices that restore factory ride quality. KYB Corporation is an independent Japanese manufacturer listed on the Tokyo Stock Exchange — they make OE dampers for a number of vehicle lines, so the quality control is real. For a truck that tows, hauls, or sees occasional off-road use, step up. **Rancho RS5000X** is a popular choice on lifted and towing trucks — it's a gas-pressurized shock with a good track record. Rancho is a DRiV brand, alongside Monroe, under Tenneco (owned by Apollo Global Management). **Bilstein** — formally ThyssenKrupp Bilstein Suspension GmbH — produces its North American shocks at its Hamilton, Ohio facility. If you're in this for the long run and want a limited lifetime warranty (original purchaser, original vehicle), Bilstein's warranty terms are among the most straightforward in the segment. Their 5100 series handles lifted applications well; the 6112 adds coilover adjustability for trucks with independent front suspension. My honest opinion: in over a decade of wrenching, I've seen more KYB Gas-a-Just and Bilstein B8/5100 units outlast a second set of cheaper replacements. The ~$40–$80 premium per shock pays itself back. That's not a universal truth, but it holds up in my experience. **For Dorman air shock replacements** (common on older luxury or heavy-duty rear air suspensions), Dorman makes direct-fit rear air shock sets for specific applications — no custom fabrication needed. For OEM-grade replacement on Ford trucks, **Motorcraft** is Ford's own parts brand and a sound choice when you want to match the factory calibration exactly. ---
After Installation — What to Check
- Torque all hardware with the suspension loaded at ride height, not at full droop. - Bounce test: Push down hard on each corner and release. A properly damped corner should rise back to level and stop — not continue oscillating. - Check for leaks after the first drive. A light oil film on a new shock is sometimes normal; a wet, dripping shock is not. - Listen: New gas shocks can occasionally make a slight clunk or knock during the first few miles. If it persists past 50 miles, check that all hardware is fully torqued. - No alignment needed for a straight shock swap on most trucks with solid axles. If you disturbed any steering or control arm hardware on an IFS truck, get it checked. ---
Why buy from AutoBuffy
- Fitment check: add your vehicle and we confirm the part fits before you buy. If it doesn't fit because of our listing, you get a free return and a full refund, including original shipping.
- 24-month limited warranty on new parts bought on autobuffy.com.
- Real reviews: rated 4.9 by 19,069 verified customers.
- 30-day returns on unused parts in the original packaging.
- Free shipping on orders $50+. Orders placed before 12:00 PM ET (Mon-Fri) ship the same business day.
- Questions about an order? Call 888-477-2530 or email help@autobuffy.com.
Find the right shock absorber for your truck
Guaranteed fit, ships free
FAQ / People Also Ask
Yes — for most trucks you only need a floor jack, jack stands, a ratchet with metric and standard sockets, a torque wrench, and penetrating oil. A breaker bar helps if hardware is corroded.
Comments
Loading comments...
Comments are moderated by the AutoBuffy team.