

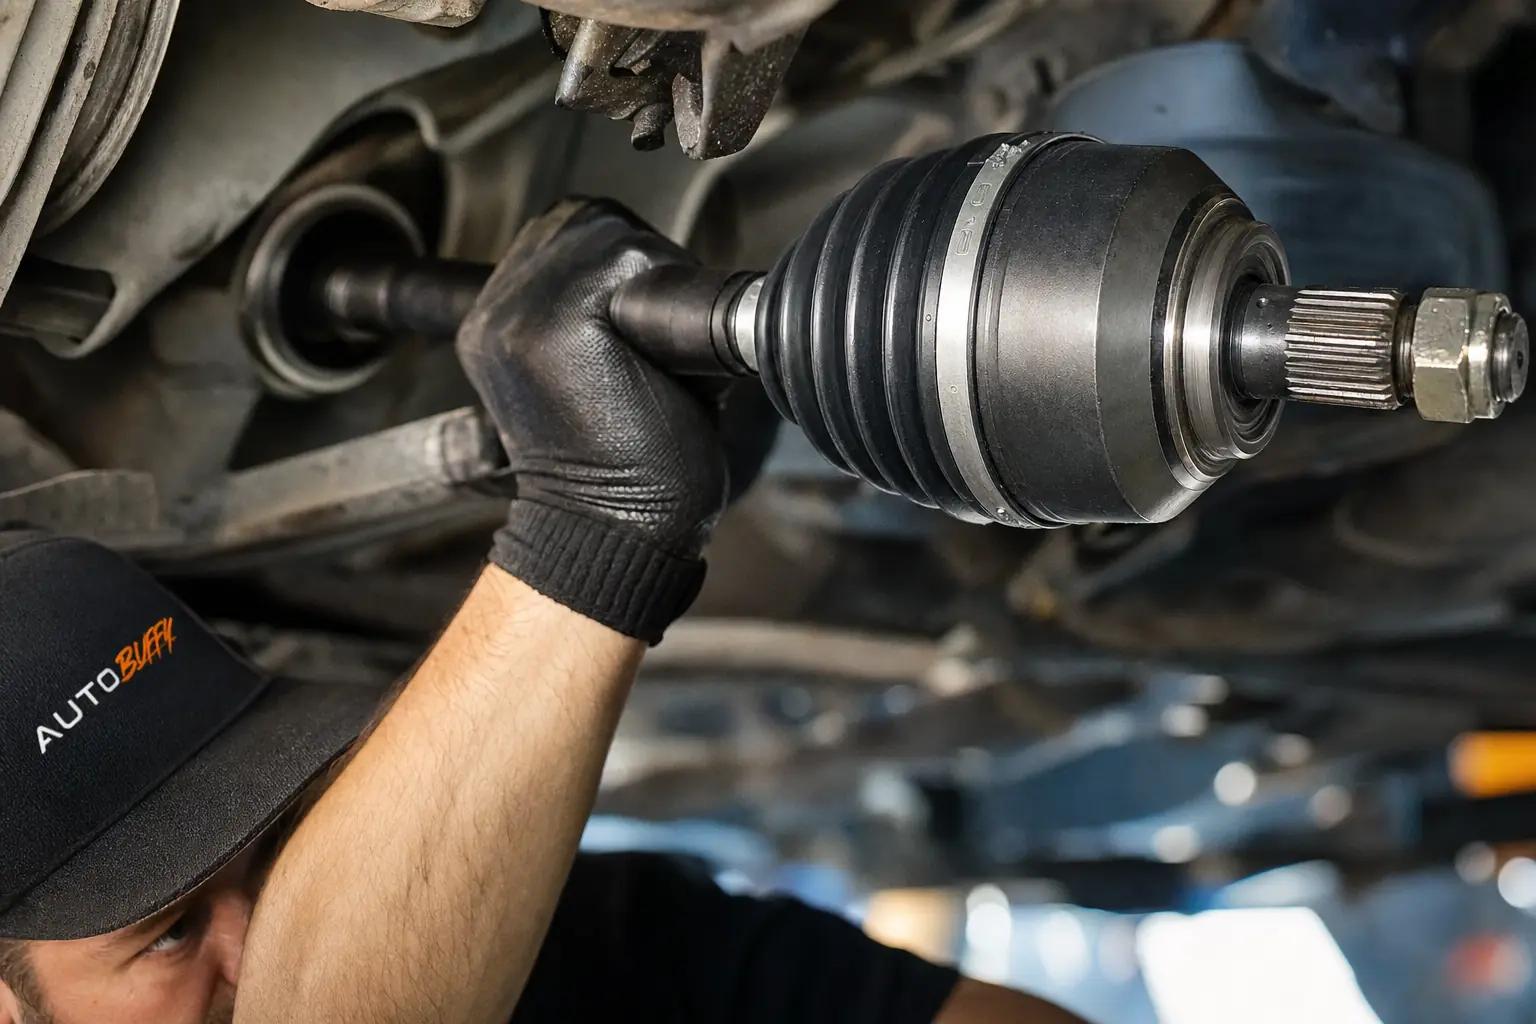
How to Replace a CV Axle (DIY Guide)
Step-by-step instructions for replacing a CV axle at home, including tools, cost ranges, safety tips, and when to call a shop instead.
The Short Answer
Replacing a CV axle is a straightforward intermediate DIY job — most home mechanics can complete it in 2–4 hours with basic tools, saving $150–$300 in labor costs.
| Factor | DIY | Shop |
|---|---|---|
| Part cost (axle shaft) | $80–$250 | $80–$250 |
| Labor cost | $0 | $150–$300 |
| Total typical cost | $80–$250 | $250–$550 |
| Time required | 2–4 hrs | 45–90 min |
| Skill level needed | Intermediate | Professional |
| Risk if done wrong | High (axle nut) | Low |
What Is a CV Axle and Why Does It Fail?
A constant velocity (CV) axle is the shaft that transfers power from the transmission to the wheel. It's built with flexible CV joints at each end that allow the shaft to articulate through suspension travel and steering movement without binding.
The joint is protected by a rubber boot packed with grease. That boot is the weak link. Road debris, age, and temperature cycling crack it. Once grease escapes and dirt enters, the joint wears fast — typically within a few thousand miles of a torn boot. The end result is that characteristic clicking sound on turns, which most drivers ignore way too long.
RepairPal data puts average CV axle replacement cost at $250–$550 at a shop, making this one of the better DIY opportunities in the drivetrain category.
What You'll Need Before You Start
Tools
- Floor jack and two quality jack stands (non-negotiable — never work under a car on just a jack)
- Impact wrench or breaker bar
- Large axle nut socket — typically 30mm, 32mm, or 36mm (look it up for your specific vehicle)
- Torque wrench rated to at least 250 ft-lb
- Pry bar or axle puller/slide hammer
- Snap ring pliers (some vehicles)
- Basic socket set and combination wrenches
- Rubber mallet or dead-blow hammer
- Drain pan
Supplies
- New CV axle shaft (use the part finder below for your exact fitment)
- New axle nut — don't reuse the old one
- Penetrating oil (PB Blaster or similar)
- Wheel bearing grease (small amount, for hub splines)
- Shop rags
- Thread locker if specified by your vehicle's service info
Safety First
Never skip jack stands. The NHTSA reports that vehicle rollovers during maintenance are a leading cause of home-mechanic fatalities. Use stands rated above your vehicle's weight, placed on the vehicle's frame pinch welds or designated lift points.
Step-by-Step: How to Replace a CV Axle
Step 1: Loosen the Axle Nut (While the Wheel Is on the Ground)
Crack the axle nut loose before you jack the car up. These nuts are torqued to 150–250 ft-lb — you need the wheel on the ground to prevent it from spinning. Have someone hold the brake pedal, or use an impact wrench. Spray penetrating oil on the nut the night before if the car has any rust on it.
Step 2: Lift the Vehicle and Remove the Wheel
Jack the vehicle at a proper lift point, place jack stands under the frame, then lower the car onto them. Pull the wheel off. Now fully remove that axle nut you already cracked loose.
Step 3: Disconnect the Lower Ball Joint or Tie Rod End (If Needed)
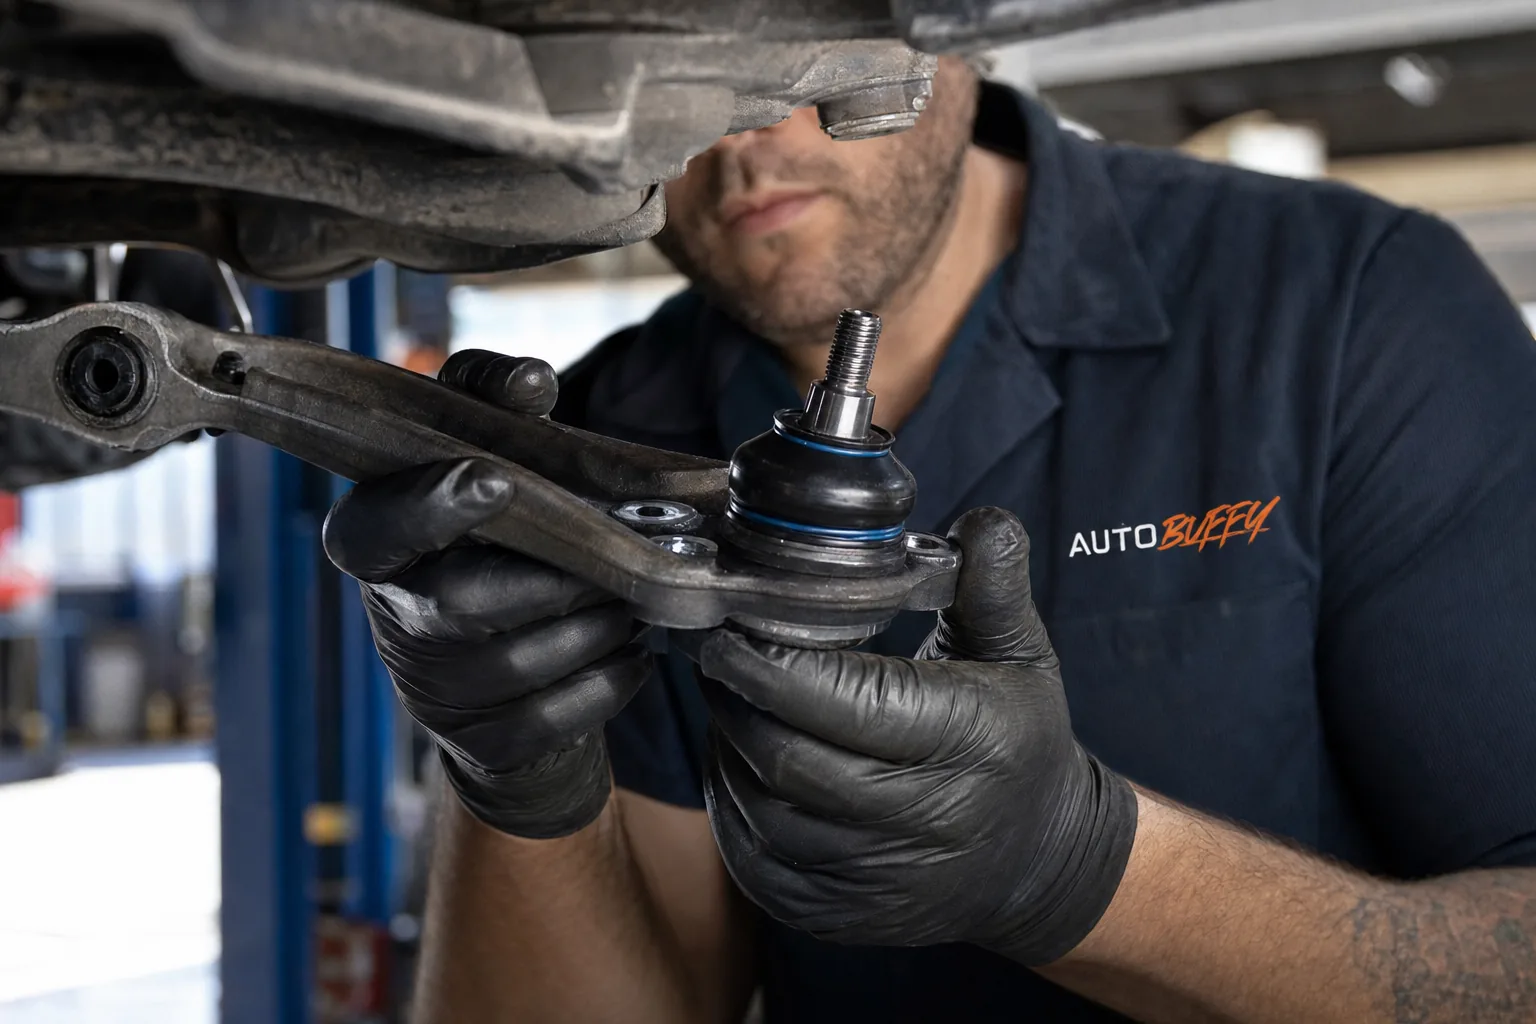
Depending on your vehicle's suspension design, you may need to pop the lower ball joint or tie rod end to swing the knuckle outward enough to pull the axle. Use a separator tool — never hammer directly on threaded studs. Check your vehicle-specific service info here, because this step varies a lot by platform.
Step 4: Pull the Outer CV Joint from the Hub
The outer stub shaft passes through the wheel bearing hub. Tap it through with a rubber mallet while wiggling the knuckle outward. On some cars it slides right out; on others it takes real convincing. Don't beat on it with a metal hammer — you'll damage the threads.
Step 5: Remove the Inner CV Joint from the Transmission
This is where people get surprised. The inner end snaps into the transmission output with a snap ring. You need to give it a sharp outward jerk — or use a pry bar at the right angle against the transmission case — to pop the snap ring free. Have your drain pan ready. Transmission fluid will dribble out on most front-wheel drive applications.
Step 6: Compare Old and New Axle
Hold the new axle next to the old one. Length, joint angles, and spline count should match. This sounds obvious but takes 30 seconds and prevents a wasted re-installation if the wrong part was pulled.
Step 7: Install the New Inner CV Joint
Apply a thin film of grease to the splines, line up the axle, and push it firmly into the transmission until you feel/hear the snap ring seat. Tug on it — it should resist. If it pulls out easily, it's not seated. Don't move on until it's locked in.
Step 8: Install the Outer CV Joint Into the Hub
Guide the outer stub shaft through the hub, reassemble any suspension components you disconnected, and thread on the new axle nut by hand.
Step 9: Torque the Axle Nut
Look up your vehicle's exact specification — do not guess. Use your torque wrench and hit that number precisely. This is the step most DIYers get wrong, and an under-torqued axle nut is a genuine safety hazard. Many nuts require staking or cotter pinning after torquing — check your service data.
Step 10: Reinstall the Wheel and Road Test
Torque the lug nuts in a star pattern to spec. Lower the car. Drive slowly in a large circle, both directions, at low speed. Listen. No clicking means you're done. Any clicking means the joint isn't fully seated or the wrong part was installed.
My Honest Take on This Job
Of all the intermediate drivetrain jobs, CV axle replacement gives you the best return on time invested. You're realistically looking at $150–$300 saved on labor, for a job that most people with brake-job experience can handle on a weekend afternoon. The one part I won't let you skip: the axle nut torque spec. I've seen wheels wobble loose on the highway because someone eyeballed that nut. Buy a torque wrench if you don't own one — a decent one costs $40–$80 and pays for itself on the first job.
When to Skip the DIY and Call a Shop
- Rusted subframe or knuckle hardware that won't budge (you can snap a bolt and turn a $200 job into a $900 one)
- AWD vehicles where the rear axle requires dropping the differential
- Vehicles where the axle nut is inside a staked hub — requires a press
- Any situation where you're not confident about torque specs and don't own a torque wrench
Sources
Find the right part for your vehicle
Guaranteed fit, ships free
FAQ / People Also Ask
For someone with basic DIY experience, plan on 2–3 hours per axle. Your first time it might stretch to 4. A shop tech who does it daily can knock it out in under an hour.


Comments
Loading comments...
Comments are moderated by the AutoBuffy team.