

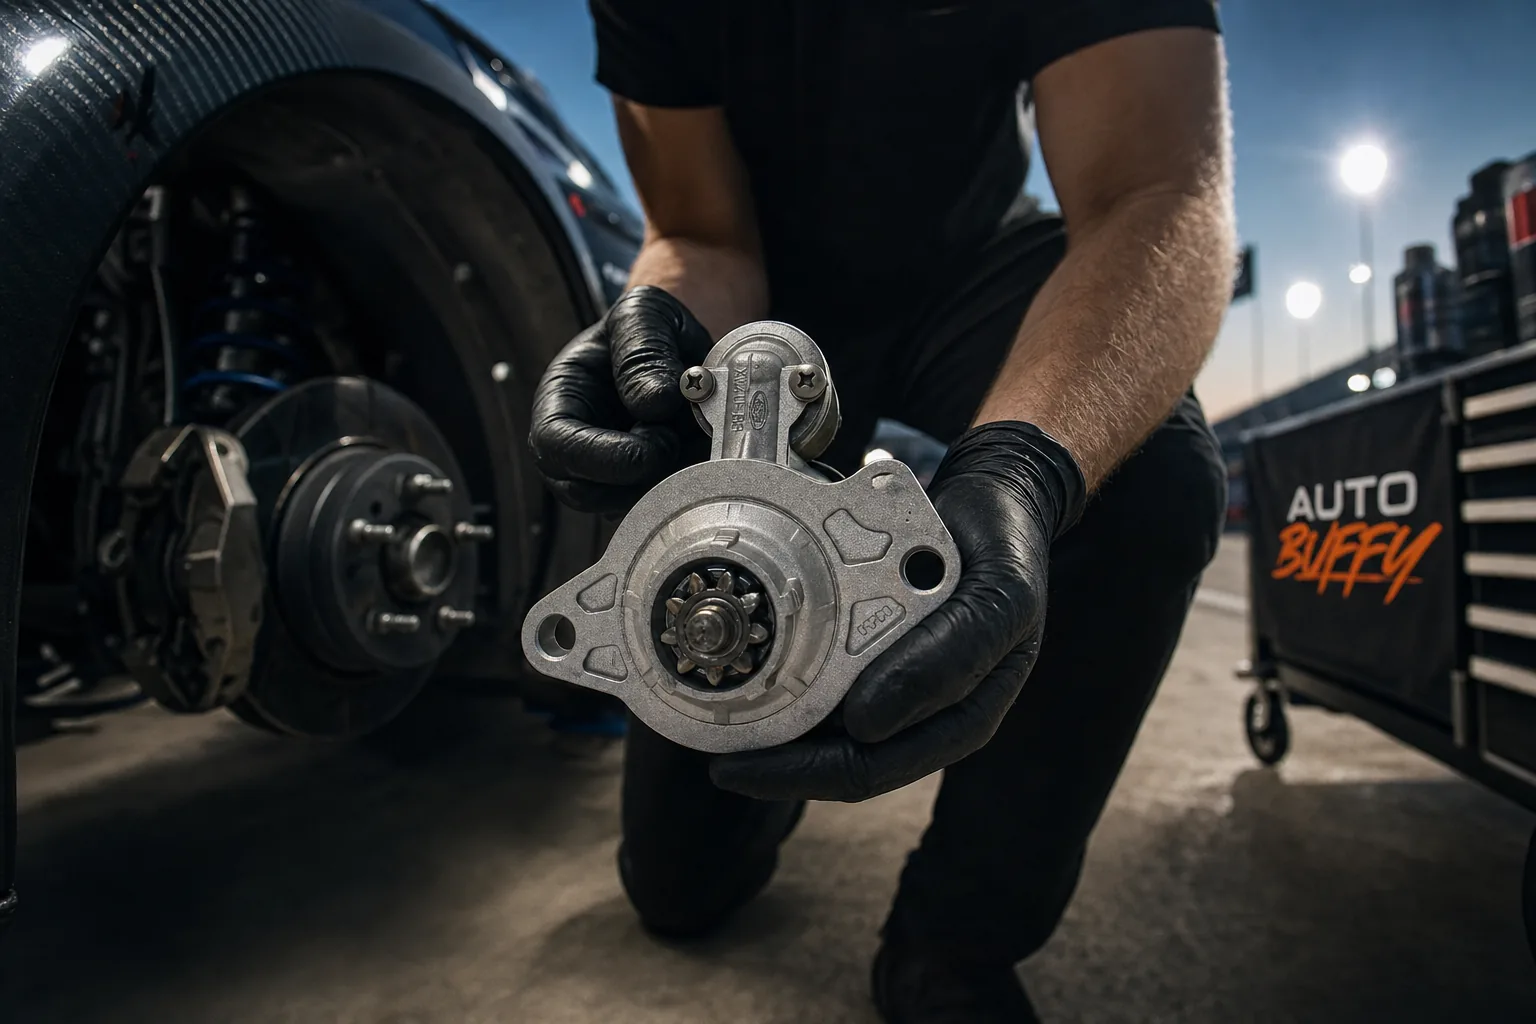
How to Replace a Starter (DIY Guide): Step-by-Step for Most Vehicles
A dead starter doesn't have to mean a tow bill. Learn how to replace a starter yourself in an afternoon with basic tools and save $150–$400 in labor.
The Short Answer
Replacing a starter is a straightforward DIY job on most vehicles: disconnect the battery, unbolt two or three mounting bolts, swap the electrical connections, install the new unit, and you're done — usually in 1–3 hours with basic hand tools.
| Factor | Typical Range |
|---|---|
| Remanufactured starter (part only) | $80 – $250 |
| New starter (part only) | $150 – $400 |
| Professional labor cost | $150 – $400 |
| Total at a shop | $300 – $800 |
| DIY total (part only) | $80 – $400 |
| Time to complete (most vehicles) | 1 – 3 hours |
Skip the shop on this one. The labor markup on a starter swap is one of the steepest in the automotive world relative to the actual complexity of the job. A confident DIYer pockets that entire labor column.
Is Your Starter Actually the Problem?
Before you order a part, spend 10 minutes ruling out the cheaper culprits. A dead starter and a dead battery feel almost identical from the driver's seat.
Test these first:
- Battery voltage — A healthy battery reads 12.4–12.6V at rest. Anything under 12.0V is suspect. Most auto parts stores will load-test it for free.
- Battery terminals — Corroded or loose terminals cause massive voltage drops. Clean them with a wire brush and tighten before doing anything else.
- Starter relay and fuse — Check your owner's manual for the starter relay location (usually in the underhood fuse box). Swap it with an identical relay to test.
- Neutral safety switch — An automatic transmission that won't start in Park but cranks in Neutral points to the neutral safety switch, not the starter.
If the battery and connections are solid, you hear a single loud "clunk" (or nothing) when you turn the key, and jump-starting doesn't help, the starter — or its solenoid — is almost certainly the culprit. According to RepairPal, a grinding noise during cranking and intermittent no-starts are two of the most common patterns before a starter fails completely.
What You'll Need
Tools:
- 3/8" and 1/2" drive socket sets (metric and SAE)
- Extensions — a 6" and a 12" cover most situations
- Combination wrenches
- Torque wrench
- Floor jack and jack stands, or drive-up ramps
- Wire brush
- Penetrating oil (for older, stubborn bolts)
- Flashlight or work light
Materials:
- Replacement starter (matched to your exact vehicle — year, make, model, engine)
- Dielectric grease (for connections)
- Rags
One honest opinion: buy the torque wrench even if you don't own one yet. Starter mounting bolts that are too loose vibrate free; too tight and you'll crack the transmission bell housing or engine block. Torque specs matter here. A decent 1/2" torque wrench runs $30–$60 and you'll use it forever.
Step-by-Step: How to Replace a Starter
Step 1 — Disconnect the Battery
Pop the hood and remove the negative terminal first, then the positive. Tuck the negative cable away from the battery post so it can't accidentally reconnect while you're working. This isn't optional — the starter circuit carries full battery current and an accidental short can cause serious injury or an electrical fire.
Step 2 — Safely Raise the Vehicle (If Needed)
On many vehicles the starter is accessible from below. Use a floor jack to lift the vehicle, then place it securely on jack stands before crawling underneath. Never work under a vehicle supported only by a floor jack. On some trucks and SUVs with high clearance, the starter may be reachable from the top without lifting at all.
Step 3 — Locate the Starter
The starter is typically bolted to the engine block or transmission bell housing, near the flywheel/flexplate. It's a cylindrical motor — roughly the size of a large coffee can — with a smaller cylindrical solenoid attached to it. On transversely mounted engines (most front-wheel-drive cars), it's often buried on the back of the engine, requiring more reach.
Spray any visibly rusted mounting bolts with penetrating oil now and let it soak for 5–10 minutes before attempting removal.
Step 4 — Photograph the Wiring
Before touching a single bolt, take clear photos of the starter wiring from multiple angles. You need to know exactly which wire goes to which terminal. The main battery cable (large gauge wire) connects to the large post on the solenoid. The trigger wire (smaller gauge, often with a rubber boot) connects to the "S" terminal. Label them with tape if you need to.
Step 5 — Disconnect the Wiring
Using the appropriate wrench or socket, remove the nut from the main battery cable post and pull the cable free. Remove the trigger wire connector. Set the wires aside where they won't fall back and contact the terminals.
Step 6 — Remove the Mounting Bolts
Most starters use two or three bolts — typically 12mm, 14mm, or 15mm. Remove them while supporting the starter with your other hand; it's heavier than it looks (5–12 lbs on most applications). Some starters have a small support bracket that also needs to come off. Once the bolts are out, wiggle the starter to disengage it from the bell housing and lower it out.
Step 7 — Compare Old and New
Set the old and new starters side by side. The overall length, the mounting bolt pattern, and the drive-end gear (pinion) should match. If anything looks off, stop and verify you have the correct part before proceeding.
Step 8 — Install the New Starter
Guide the new starter into position, making sure the pinion gear aligns with the ring gear opening in the bell housing. Thread the mounting bolts in by hand first, then torque them to your vehicle's specification (commonly 25–50 ft-lbs, but always verify in your service manual or a resource like ALLDATA DIY). Reconnect the trigger wire, then the main battery cable — snug and secure, with a dab of dielectric grease on the connections to resist corrosion.
Step 9 — Reconnect the Battery and Test
Reconnect the positive battery terminal, then the negative. Turn the key (or press the start button). The engine should crank cleanly and start normally. Listen for any grinding — if you hear it, shut off immediately. Grinding usually means the starter pinion isn't fully seating, which could indicate an improper fit or an issue with the ring gear.
When to Call a Pro Instead
Some jobs are genuinely harder than they look. Call a shop if:
- The starter is buried behind the exhaust manifold — this is common on some V6 and V8 transverse applications. Removing red-hot exhaust hardware without the right experience leads to broken bolts.
- You find rust-seized bolts — a broken bolt in the bell housing is a far more expensive repair than the starter itself.
- The new starter cranks but the engine still won't start — you may have a different underlying issue (fuel, ignition, compression) that the starter replacement revealed.
NHTSA's vehicle safety resources and your vehicle's factory service documentation are always worth consulting if you're unsure about your specific application.
Sources
- RepairPal — Starter Replacement Cost
- ALLDATA DIY — Vehicle-Specific Repair Information
- NHTSA — Vehicle Safety
Find the right part for your vehicle
Guaranteed fit, ships free
FAQ / People Also Ask
For most front-engine, rear-wheel-drive vehicles, plan on 1–2 hours. Tight engine bays, transversely mounted engines, or starters hidden behind exhaust manifolds can push that to 3–4 hours.


Comments
Loading comments...
Comments are moderated by the AutoBuffy team.