

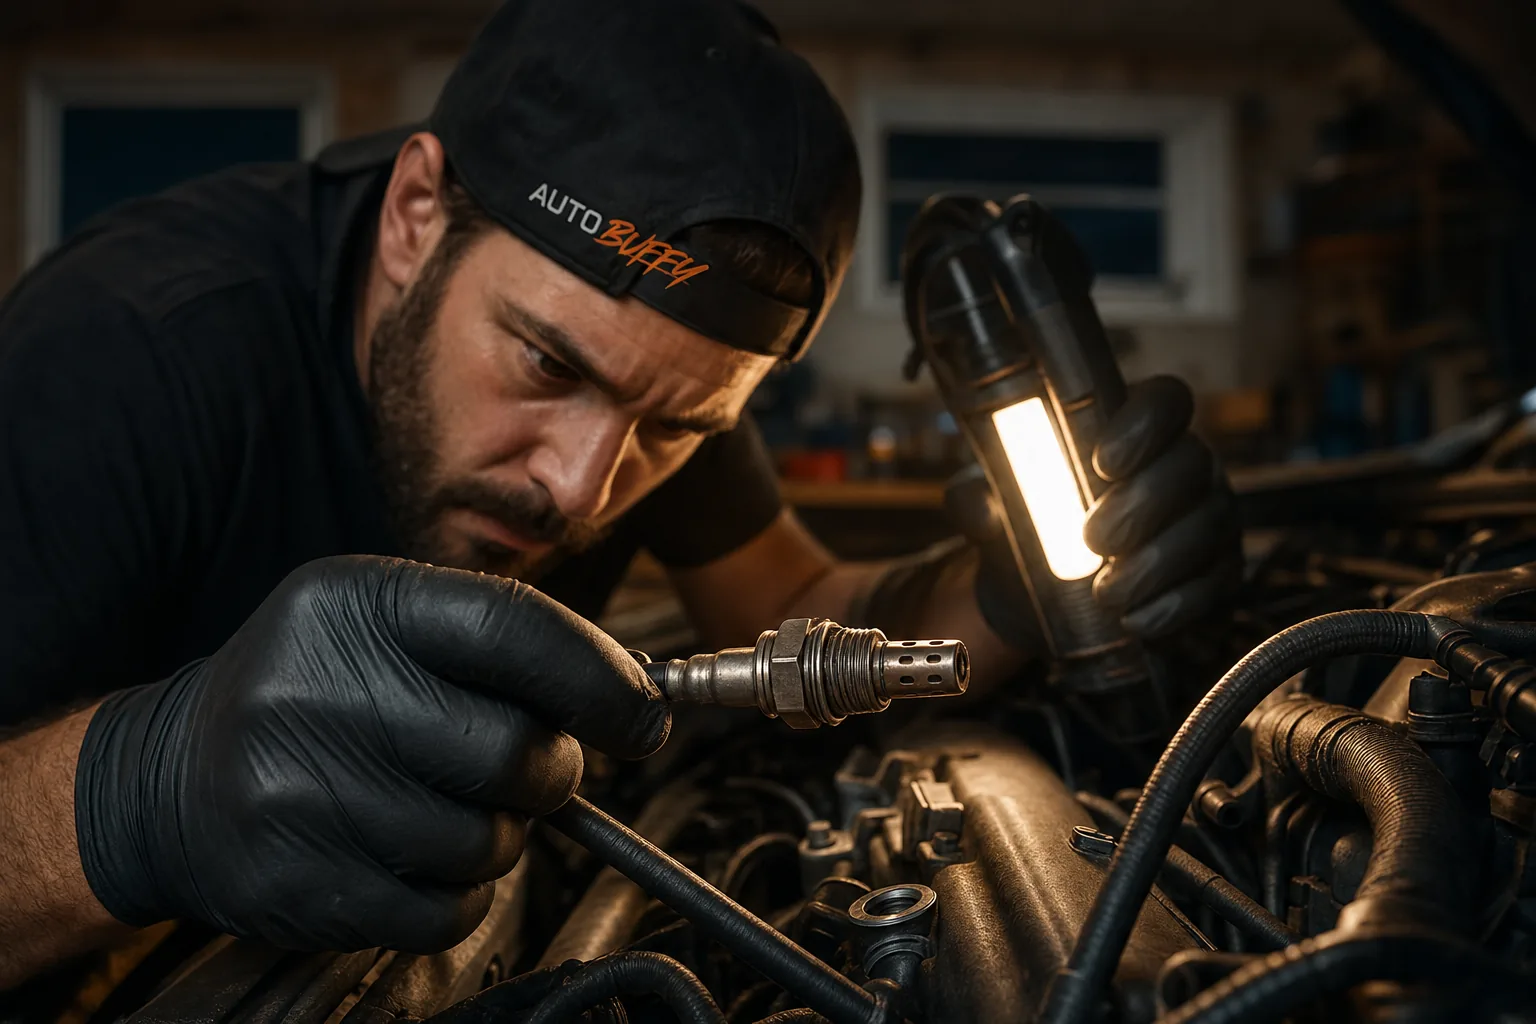
Oxygen Sensor Replacement Cost and Symptoms
Find out what an oxygen sensor replacement really costs, which symptoms to watch for, and how to avoid overpaying at the shop.
The Short Answer
Oxygen sensor replacement typically costs $65–$250 total per sensor, with the part itself ranging from $15 to $100 and labor running $50–$150 at most shops.
| Cost Factor | DIY | Shop (Labor Included) |
|---|---|---|
| Budget sensor (aftermarket) | $15–$35 | $65–$185 |
| Mid-range sensor | $35–$70 | $85–$220 |
| OEM / dealer sensor | $70–$100+ | $120–$250+ |
| Connector repair only | $15–$20 | $40–$80 |
Those numbers aren't padded — they're honest market ranges. Your actual cost depends on which sensor position failed, your vehicle's make, and whether the sensor is corroded in place (which adds labor time).
What Does an Oxygen Sensor Actually Do?
Your engine's computer needs to know the ratio of air to fuel in real time. The oxygen sensor — sometimes called an O2 sensor or lambda sensor — measures how much unburned oxygen is left in the exhaust gases. The ECU uses that reading to adjust fuel injector pulse width, keeping combustion as clean and efficient as possible.
Most modern vehicles run two sensors per exhaust bank. The upstream sensor sits before the catalytic converter and actively manages the fuel mixture. The downstream sensor monitors converter efficiency by comparing its reading to the upstream signal. When these sensors drift out of spec, the whole system goes blind.
Symptoms of a Failing Oxygen Sensor
You won't always feel a bad O2 sensor immediately, but the signs stack up fast:
- Check Engine light — usually the first indicator, often with codes P0130–P0167
- Fuel economy drops noticeably — some drivers see a 20–40% increase in fuel consumption before they realize anything is wrong
- Rough idle or hesitation — especially at operating temperature
- Rotten-egg smell from the exhaust (excess sulfur from a rich-running engine)
- Failed emissions test — a sensor running open-loop can push hydrocarbons and CO well above legal limits
- Black smoke from the exhaust — sign of a persistently rich condition
Of these, the fuel economy hit is the one I find most underrated. A car getting 22 mpg instead of its normal 28 mpg burns through roughly $400–$600 in extra fuel per year at average US driving distances. The sensor pays for itself fast.
How to Confirm the Sensor Is Actually Bad
Don't just swap the sensor because the Check Engine light is on. Pull the code first.
Common O2 Sensor OBD2 Codes
| Code | Meaning |
|---|---|
| P0130–P0138 | O2 sensor circuit fault (various banks/positions) |
| P0141, P0161 | O2 sensor heater circuit malfunction |
| P0171, P0172 | System lean / rich (may be O2 sensor or fuel system) |
| P0420, P0430 | Catalyst efficiency below threshold (downstream sensor data) |
A live data scan is even more useful than just reading codes. A healthy upstream sensor should oscillate between roughly 0.1V and 0.9V several times per second at idle. If it's stuck at one voltage or barely moves, that's a failed sensor — not a wiring problem.
Pro tip: If the code clears but returns within two drive cycles, the sensor is almost certainly the culprit. If it only appears when it's cold, suspect the heater circuit element first.
What Drives the Replacement Cost?
Sensor Position
Upstream sensors are often accessible from above the engine with the right socket. Downstream sensors sit low near or behind the catalytic converter, which can mean heat-shield removal and awkward angles — adding 20–30 minutes of labor.
How Stuck the Sensor Is
That's the real wildcard. A sensor that's been baking at exhaust temperatures for 80,000 miles can seize in the bung. Shops sometimes charge extra if they need to apply heat or use an extractor. Some severely seized sensors break off in the bung, requiring a bung repair — which is why parts like the Walker Oxygen Sensor Bung (41820) exist.
Connector vs. Sensor
Sometimes the sensor itself is fine but the wiring connector has burned, corroded, or cracked. A connector like the Standard Ignition S-750 or S-631 runs well under $20 and can save you from replacing a functional sensor. Always inspect the connector before ordering the sensor.
Upstream vs. Downstream
Upstream sensors on some imports and European vehicles use a wideband (A/F ratio) design that's more expensive than a conventional narrowband sensor. Confirm which type your vehicle needs before buying.
Which Brands Are Worth Buying?
For budget-conscious repairs, SKP offers a broad range of direct-fit sensors — their line includes multiple vehicle-specific fitments that start under $20. For GM vehicles specifically, GM Genuine Parts (such as the upstream 4-wire sensor 213-3630) ensures OEM calibration that aftermarket sensors sometimes miss on late-model trucks and SUVs.
Dorman (part 917-109) covers a wide range of applications and is a reliable choice for older vehicles where exact OEM specs are less critical. Standard Ignition is a solid pick for connector repairs — their S-750 and S-631 connectors are pre-terminated and save significant time versus splicing bare wire.
Honest verdict: for any vehicle still under powertrain warranty or with a known sensitivity to fuel trim calibration (common on late-model Toyotas and GMs), spend the extra $15–$30 for OEM or OEM-spec parts. The sensor will read accurately from day one and you won't be chasing a Check Engine light that never quite clears.
DIY vs. Shop: Which Makes Sense?
This is genuinely a case where DIY pays off, provided you have the right socket. An O2 sensor socket (with the wire slot cut into the side) costs about $10–$15 and lives in your toolbox forever.
DIY makes sense when:
- The sensor is upstream and accessible
- The vehicle has under 80,000 miles (less likely to be seized)
- You've confirmed the code with a scan tool
Go to a shop when:
- The sensor is downstream and buried under heat shields
- You're on a unibody vehicle with rusted subframe bolts nearby
- You get a broken-off sensor situation — that needs proper extraction tools
For a straightforward upstream swap on a domestic vehicle, most home mechanics finish in under 45 minutes. That translates directly into $80–$150 in labor savings.
How to Avoid the Biggest Mistakes
- Don't skip the scan — replacing the wrong sensor wastes money and leaves the real code active.
- Apply anti-seize to the threads — but only on the threads, never on the sensor tip. Anti-seize on the tip changes the sensor's ground path and can cause false readings.
- Reset the ECU after replacement — drive at least two complete warm-up cycles before concluding the repair worked.
- Check the bung — if the old sensor damaged the threads on removal, a replacement sensor will leak exhaust and throw codes immediately.
Use the part finder below to confirm the exact fit for your year, make, and model — and to see today's pricing. Fitment data changes, and the finder is always current.
Find the right part for your vehicle
Guaranteed fit, ships free
FAQ / People Also Ask
Parts typically run $15–$100 depending on brand and sensor position. Labor adds $50–$150 at most shops, bringing the total to roughly $65–$250 per sensor.

Comments
Loading comments...
Comments are moderated by the AutoBuffy team.