

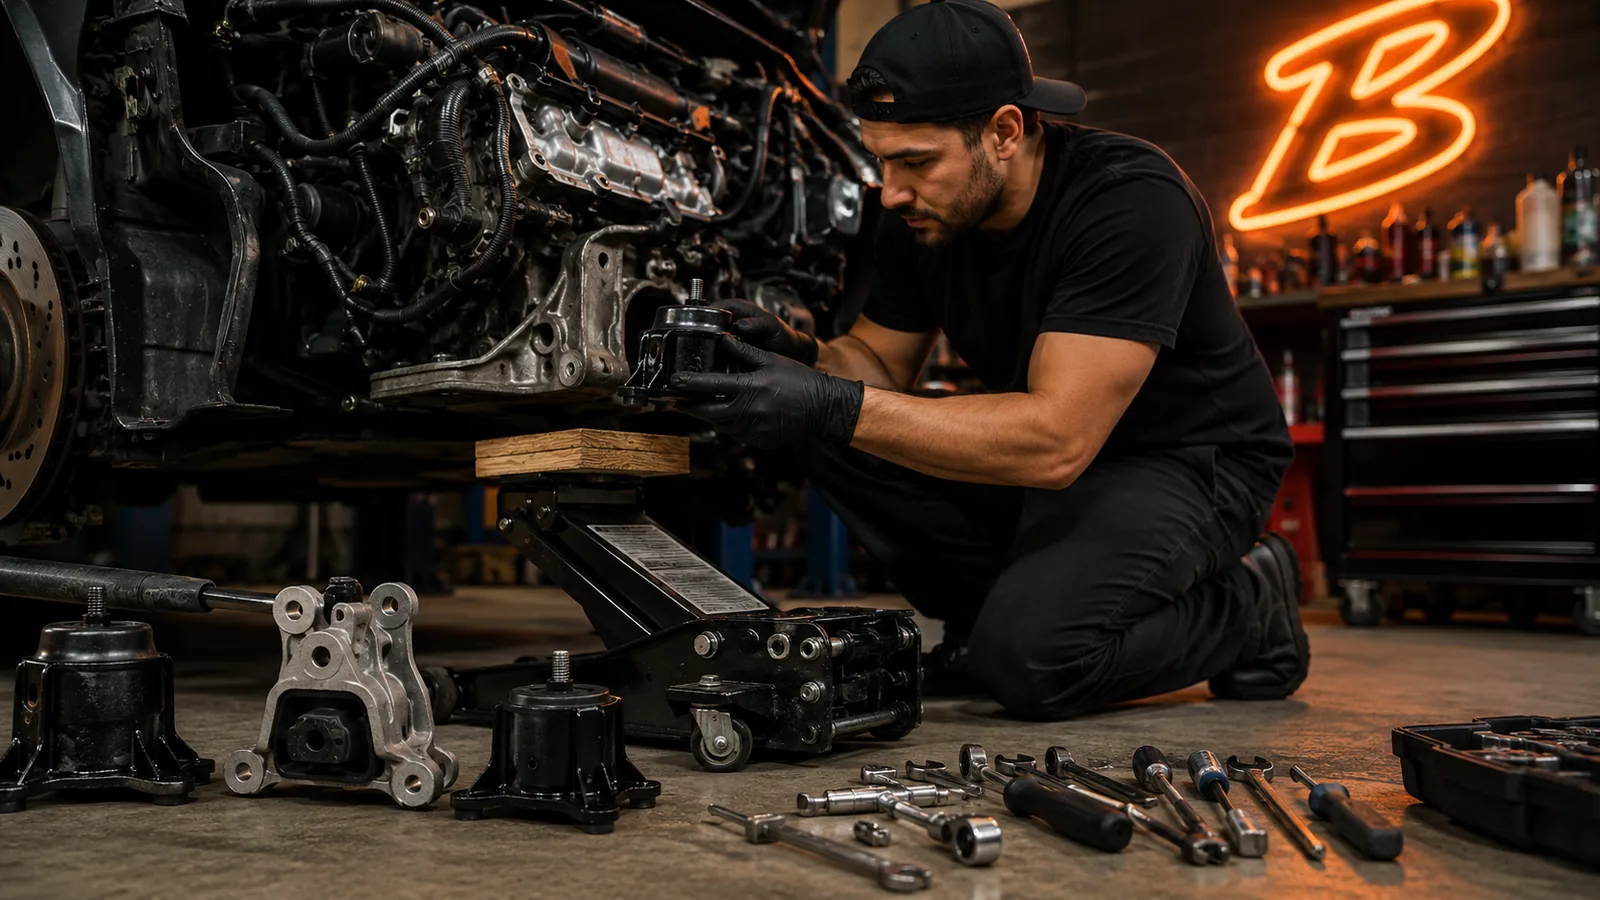
How to Replace a Motor Mount: DIY Steps + Torque Specs
A straight-talking, safety-first guide to replacing a motor mount yourself — real tool list, a torque-spec reference table, and honest advice on when to just pay the shop.
The Short Answer
Most front (easy-access) motor mounts are a 1-2 hour DIY job with a socket set, ratchet, breaker bar, and a floor jack to support the engine. Take the weight off with the jack, remove the through-bolt and bracket bolts, wiggle the old mount out, drop the new one in, and torque every bolt to the factory spec. Doing it yourself saves roughly $150-$450 in labor per mount. Buried, rusted, or transverse-V6 mounts are harder. That's when paying a shop is the smart move.
Find the Exact Motor Mount for Your Vehicle
Enter your year, make, and model — we'll show only mounts that fit.
First: Confirm the Mount Is Actually Bad
Don't replace a mount on a hunch. Engine vibration, clunks over bumps, and shaking at idle can also come from bad transmission mounts, worn suspension, or a rough-running engine. Run these quick checks first (full breakdown in Bad Motor Mount Symptoms):
- Load test: Foot firmly on the brake, shift Park → Reverse → Drive while watching the engine (have a helper look, or use a phone on video). A healthy mount lets the engine move slightly and settle. A dead mount lets it lurch and clunk hard.
- Throttle-blip test: In Park or Neutral, blip the throttle. Excessive engine rock-back that keeps rebounding points to a soft or broken mount.
- Pry-bar test: Engine off. Wedge a pry bar between the mount bracket and the block, and gently lever. More than slight movement, visible cracked rubber, or leaking fluid (on hydraulic mounts) means it's done.
If two or three of these fail, replace it. If they pass, look elsewhere before spending money.
Tools & Supplies
Nothing exotic. Most home mechanics already own most of this.
| Tool / Supply | Why You Need It |
|---|---|
| Socket set + ratchet (metric, 10-19mm typical) | Removes bracket and through-bolts |
| Breaker bar | Cracks loose high-torque or seized bolts |
| Torque wrench | Final torque — the one non-negotiable tool |
| Floor jack + 2 jack stands | Lifts the car AND supports the engine |
| Block of wood (2x4 or hardwood scrap) | Cushions the oil pan when jacking the engine |
| Penetrating oil (PB Blaster / Kroil) | Frees rusty bolts — spray 15+ min ahead |
| Extensions + swivel/wobble socket | Reaches bolts buried behind the engine |
| Pry bar | Nudges the engine or pops the mount free |
| Wheel chocks + gloves + eye protection | Basic safety, not optional |
One rule that saves engines: when you lift the engine with the jack, place it under the oil pan through the block of wood, never metal directly on the pan. A jack pad on a bare aluminum or thin-steel pan will dent or crack it, and now you've got a much bigger bill.
How to Replace a Motor Mount: Step by Step
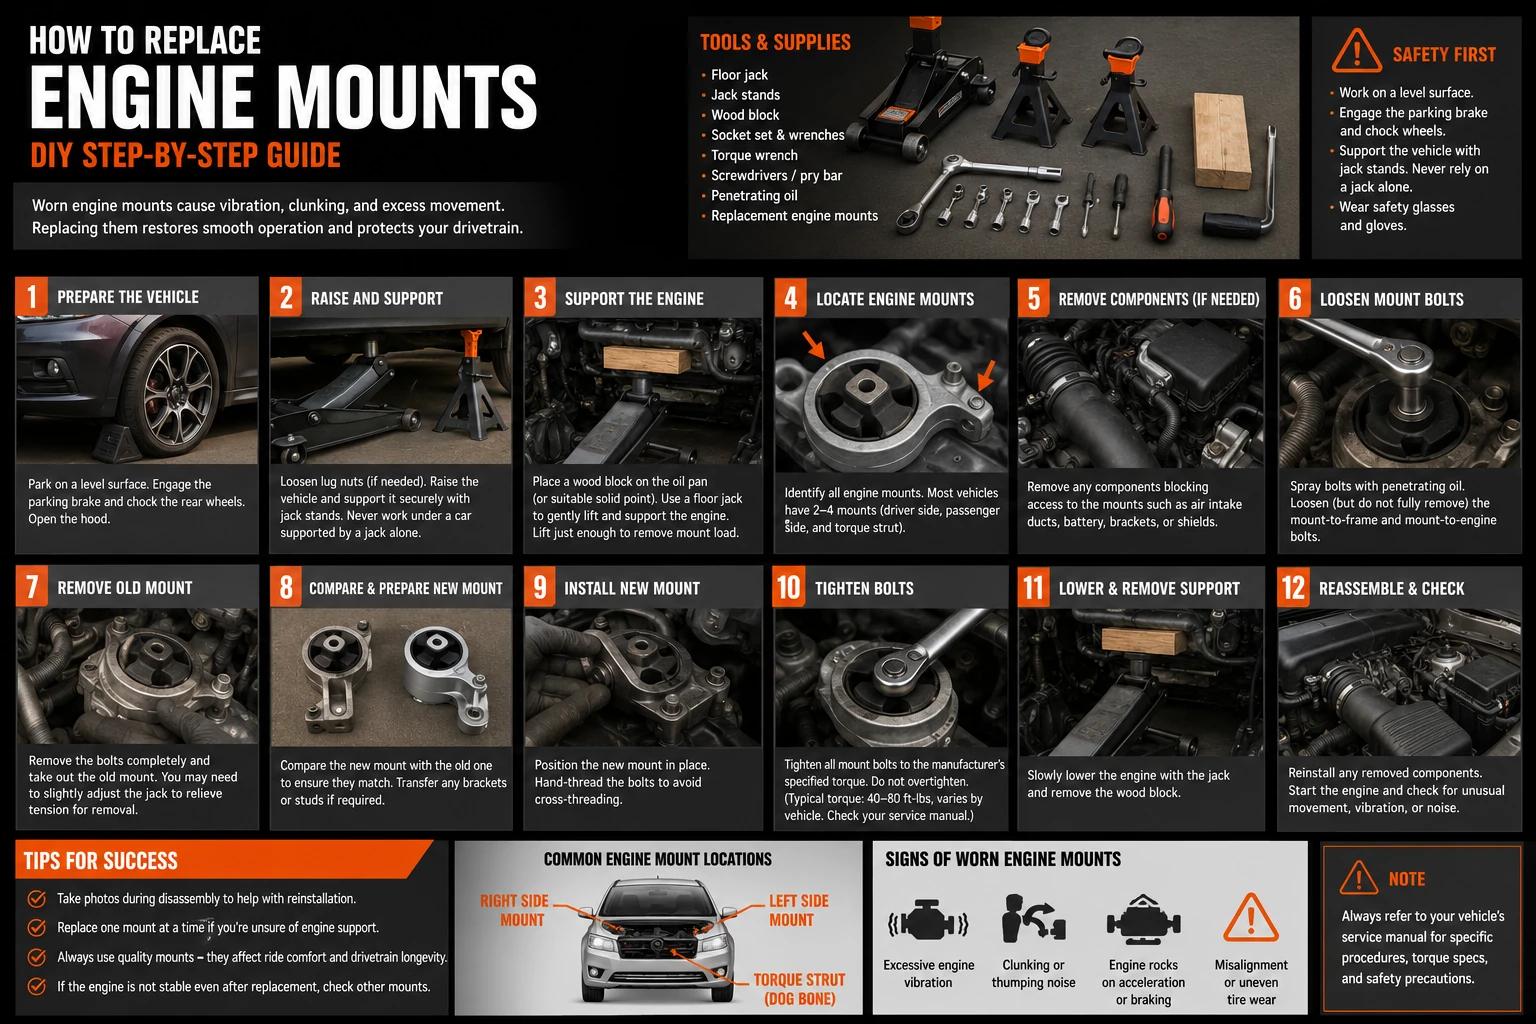
1. Park, chock, and lift safely
Flat ground, parking brake on, engine cool. Chock the wheels. Loosen the lug nuts if wheel removal is needed for access, then raise the car and set it on jack stands. Never work under a car held only by a jack. Confirm it's stable before you go under.
2. Locate the mount and clear the path
Find the failed mount. On many vehicles you'll need to move an air-intake tube, a coolant hose bracket, or a heat shield to reach the bolts. On transverse (sideways) engines, the driver-side or rear mount can be buried behind the engine, so budget extra time. Spray penetrating oil on every bolt now and let it soak.
3. Support the engine and take the load off
Slide the floor jack under the engine with the wood block between the jack pad and the oil pan. Raise it just until it's snugly carrying the engine's weight. You're unloading the mount, not lifting the whole car. You should see the mount relax slightly. Don't over-lift. You only need a fraction of an inch of play.
4. Remove the bolts
Most mounts use a through-bolt (the long bolt running through the rubber/center) plus 2-4 bracket bolts securing the mount to the frame or engine. Crack them loose with the breaker bar, then spin them out with the ratchet. Seized or rounded bolts are the #1 thing that turns a 1-hour job into an all-day fight. Go slow, re-soak with penetrant, and heat if you have to.
5. Free and remove the old mount
With the bolts out, raise or lower the engine slightly with the jack to open up clearance, then work the old mount out. A little pry-bar persuasion is normal. Note its exact orientation. Snap a photo before it comes out so the new one goes in the same way.
6. Install the new mount
Set the new mount in the same orientation. Start all bolts by hand before tightening any. A mount that's cocked or misaligned won't let the last bolt thread. Nudge the engine up or down with the jack to line up the holes. A quality drop-in OE-style mount matters here. Precise bolt-hole spacing and correct height mean the engine sits where the factory intended and the bolts line up without a fight. This is where a specialist mount earns its keep. Westar has built engine and transmission mounts in the U.S. since 1986 and focuses on OE-style fit, so their mounts tend to seat cleanly without forcing.
7. Torque to spec — every bolt
Hand-snug isn't enough, and cranking by feel risks stripping threads or a bolt backing out under vibration. Use the torque wrench and the factory value for your exact vehicle. Tighten in stages (e.g., 50%, then final) and, if the mount has multiple bolts, work them evenly.
8. Lower and recheck
Lower the engine off the jack so the mount takes the load, remove the jack, reinstall anything you moved, then lower the car. Start it and repeat the load test. The engine should sit steady with no clunk. Recheck the bolts after a few drives. New rubber can settle.
Torque-Spec Reference (General Ranges — Look Up Your Exact Vehicle)
There is no universal motor-mount torque. It varies by make, model, engine, and mount position. The table below is a *typical range* to sanity-check yourself against, not a substitute for your vehicle's factory spec. Get the exact number from a service manual, ALLDATA, or a model-specific forum thread, and never guess on final torque.
| Fastener | Typical Range | Notes |
|---|---|---|
| Mount-to-frame / subframe bolts | ~40-65 ft-lb | Bolts holding the mount to the body/frame |
| Through-bolt (center) | ~40-75 ft-lb | The long bolt through the mount core |
| Mount-to-engine bracket bolts | ~30-55 ft-lb | Bracket that ties mount to the block |
| Small M8 bracket/accessory bolts | ~15-25 ft-lb | Heat shields, brackets, hoses |
These are ballpark figures for common passenger cars. High-torque through-bolts on trucks and some V8s can run higher. Small aluminum-bracket bolts run lower. When in doubt, always defer to the manufacturer spec.
Ready to Order? Find Your Exact Mount
We only show mounts confirmed to fit your year, make, and model.
Difficulty & Time: Being Honest
On an easy car (front mount, good bolt access, no rust) this is about a 3-4 out of 10 and genuinely doable in 1-2 hours for a competent DIYer. But the job scales up fast:
- Rust / seized bolts: Northern-climate cars can turn a 1-hour job into a snapped-bolt, drill-and-extract ordeal. If bolts won't budge after soaking and heat, stop before you round them off.
- Buried mounts: Rear or driver-side mounts on transverse V6s sometimes require dropping part of the exhaust or a subframe support. That's a shop-worthy job.
- Exhaust / subframe in the way: If the manual says "support and lower the subframe," the difficulty and risk jump. Know your limit.
There's no shame in paying a pro for the buried one and doing the easy front mount yourself. For a full labor-vs-DIY breakdown, see Motor Mount Replacement Cost.
Do You Replace Mounts in Pairs?
Not required, but worth considering. If one mount failed from age and the others are the same vintage, they're often not far behind, and you've already got the tools out. On a 3-4 mount setup, replacing the one that failed is fine. Just re-test the others with the load and pry-bar checks while you're under there.
Bottom Line
Replacing an accessible motor mount is one of the better DIY wins: a couple of hours, basic tools, and $150-$450 saved per mount. The two things that separate a clean job from a bad day are supporting the engine safely through a wood block and torquing every bolt to the factory spec. Use a quality OE-style mount so it drops in without a fight, take the seized bolts seriously, and don't be a hero on a buried transverse V6.
Shop mounts that fit your exact vehicle: Motor Mounts · Westar Mounts.
FAQ / People Also Ask
An accessible front mount typically takes 1-2 hours for a DIYer with basic tools and a floor jack. Buried mounts (rear or driver-side on transverse V6s), rusted/seized bolts, or jobs requiring exhaust or subframe removal can take much longer, sometimes a half-day or more. Time depends far more on bolt access and rust than on the mount itself.
Comments
Loading comments...
Comments are moderated by the AutoBuffy team.