

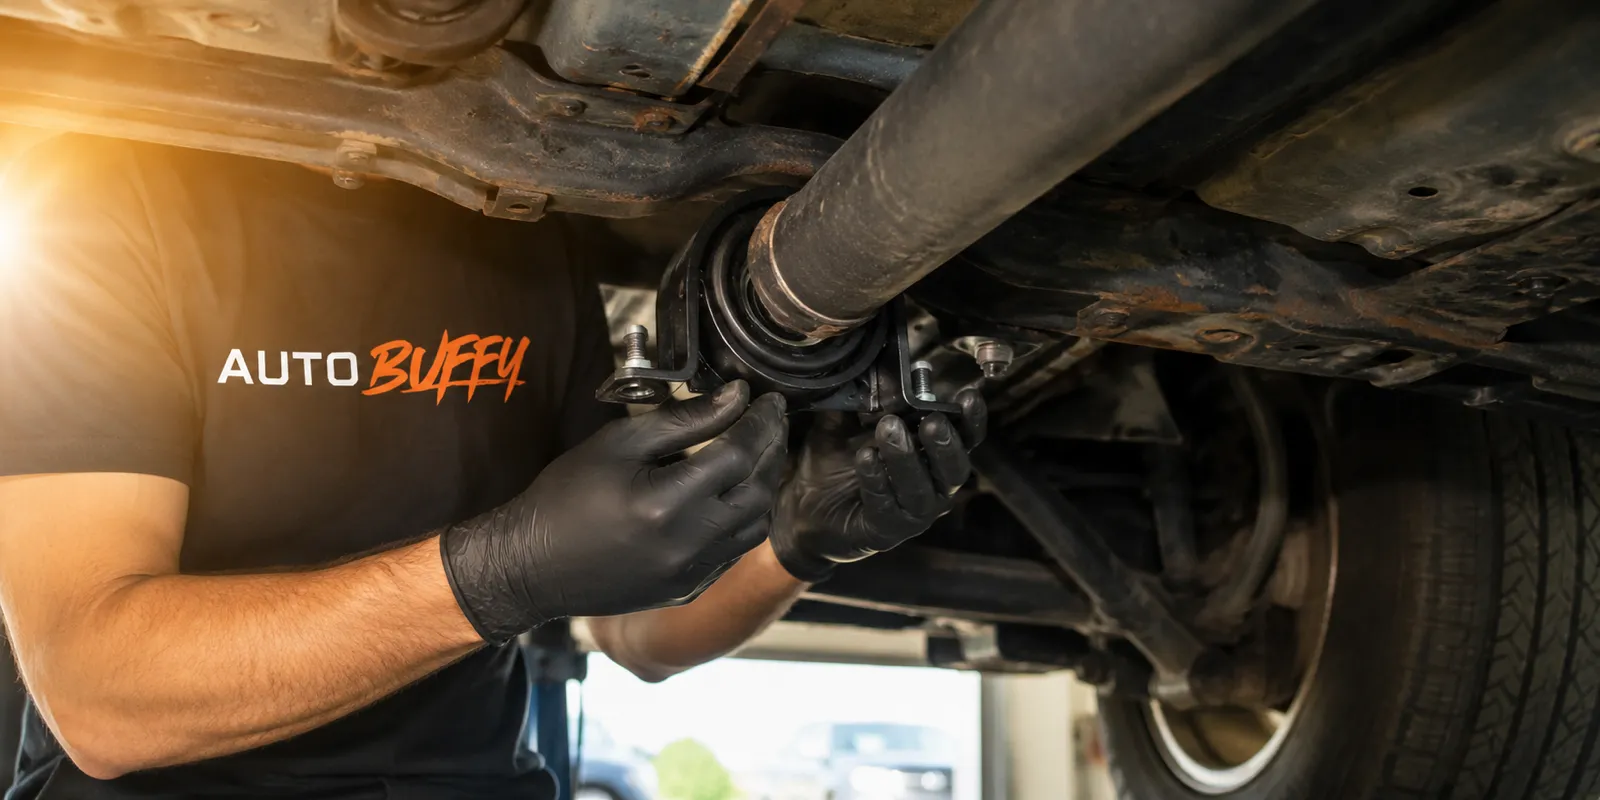
How to Replace a Carrier Bearing: Step-by-Step DIY Guide
Replacing a carrier bearing takes 1.5-3 hours and a $10-$130 part, versus $250-$600 at a shop. The full step-by-step, including the marking step that prevents the number one post-job mistake and your options when the bearing is pressed on.
The Short Answer
Replacing a carrier bearing is a solid intermediate driveway job: 1.5–3 hours with basic hand tools, a $10–$130 part, and one honest catch — if the bearing is pressed onto your driveshaft, you'll need a press, a puller, or a machine shop that charges about $20 to do the pressing for you. Shops quote $250–$600 for this same job. The parts math is heavily in your favor; the full breakdown is in our carrier bearing replacement cost guide.
| Job Overview | |
|---|---|
| Difficulty | Intermediate — 3 out of 5 wrenches |
| Time | 1.5–3 hours (add 30–45 min if a machine shop presses the bearing) |
| Parts cost | $10–$130 for most aftermarket center supports; ~$110 avg for complete bearing assemblies |
| Shop cost | $250–$600 typical all-in |
| Basic tools | Jack, jack stands, wheel chocks, socket set, paint pen, torque wrench |
| Special tools | Shop press or bearing puller (only if the bearing is pressed on) |
| The #1 mistake | Reinstalling the driveshaft out of phase — creates a brand-new vibration |
Quick terminology note before we start: "carrier bearing" and "center support bearing" are the same part — the rubber-cushioned bearing that holds up the middle of a two-piece driveshaft. This is NOT the carrier bearing inside your differential; that's a completely different part and a completely different (much harder) job. If you're not sure which one you're dealing with, the complete carrier bearing guide sorts it out.
And if you haven't actually confirmed the bearing is bad yet, do that first. Twenty minutes with the bad carrier bearing symptoms checklist beats three hours replacing a part that wasn't the problem.
What You'll Need
- Floor jack + jack stands (never work under a truck on a jack alone)
- Wheel chocks, front and back of the front wheels
- Socket set with 12-point sockets (many flange bolts are 12-point)
- Breaker bar and penetrating oil — flange bolts on a 20-year-old truck will fight you
- Paint pen or metal punch for marking
- Torque wrench
- A second jack, ratchet strap, or a friend to support the shaft
- The new part (check fit below), plus a press or puller if your bearing is pressed on
- Drain pan and a rag — some trucks dribble transmission fluid when the shaft comes out
Find the Carrier Bearing That Fits Your Truck
Enter your year, make, and model — we stock 920+ center supports from Westar, SKF, Timken, and more
Mark Everything Before You Touch a Bolt
This gets its own section because it's the single most common way this job goes wrong. A two-piece driveshaft is balanced as an assembly, at the factory, in one specific orientation. The front shaft, the slip splines, the rear shaft, and the flanges all have to go back together exactly the way they came apart. Reinstall it one spline off, or bolt the rear flange 90 degrees rotated, and you've created a new vibration that wasn't there before — sometimes worse than the bad bearing you just fixed.
Forum threads are full of this exact story. Guys chasing a mystery 45-mph shudder after a carrier bearing job, throwing new u-joints and $150–$200 balance jobs at a truck, when the actual fix was pulling the shaft apart and re-clocking it. A $4 paint pen prevents all of it.
Before loosening anything, mark:
- Rear flange to pinion flange. One stripe of paint across both halves so the shaft bolts back to the differential in the same clock position.
- Front shaft to rear shaft, across the slip joint. One straight line down both pieces where they meet. This is the phasing mark. If the two halves separate at the splines during the job, this line is the only thing that gets them back in phase.
- Slip yoke to shaft if your driveshaft has a separate splined yoke.
- The carrier bracket position and any shims. More on shims later — GM trucks especially.
Some driveshafts have a master spline (one double-wide spline) that forces correct alignment. Great. Mark it anyway. Master splines aren't universal, and you won't know yours doesn't have one until the shaft is in pieces on the garage floor.
Safety Setup
Five minutes, non-negotiable:
- Park on flat concrete. Chock the front wheels both directions — you're about to disconnect the thing that lets "Park" hold the truck.
- Jack the rear and set it on jack stands at the frame, or better, drive up on ramps so the suspension stays loaded.
- Once the driveshaft is out, Park holds nothing. The chocks and parking brake do everything.
- Eye protection. You'll be on your back under 30 years of undercoating and rust flakes.
Step-by-Step: Getting the Driveshaft Out
Step 1: Support the shaft
Put a jack stand, a second jack, or a ratchet strap under the driveshaft near the carrier bearing before you unbolt anything. A two-piece truck driveshaft weighs 30–60 pounds and it will fold at the center joint the moment the bracket is free. Don't let it swing down and smack you, the exhaust, or a u-joint.
Step 2: Unbolt the rear flange
Four bolts (sometimes straps and u-bolts) hold the rear of the shaft to the differential pinion flange. These are usually 12-point and usually rusted. Soak them with penetrating oil while you set up. If a bolt head starts to round, stop and switch to a 6-point or extractor socket immediately — a rounded flange bolt turns a 2-hour job into a weekend. Put the transmission in neutral (wheels chocked!) if you need to rotate the shaft to reach all four bolts, then back in Park.
Step 3: Unbolt the carrier bearing bracket
Two bolts hold the bracket to the frame crossmember. Look for shims or spacers between the bracket and the crossmember before you pull it down. Factory shims set the driveline angle. Note how many, note which side, tape them together, and label them. Lose the shim stack and you can inherit a takeoff shudder that no new bearing will cure.
Step 4: Drop the shaft
Lower the shaft and slide it rearward or forward depending on the design. Two setups exist:
- Flange-to-flange both ends: the shaft unbolts at both ends, no fluid involved. Easy.
- Slip yoke into the transmission or transfer case: the front of the shaft pulls out of the tailhousing, and on a lot of trucks that opening will dribble or outright pour ATF, especially if the truck's nose is downhill. Have the drain pan ready, and plug the tailhousing with a spare yoke or a plastic plug. Check the fluid level when you're done.
Carry the shaft out and lay it on a bench. Don't let the two halves flop apart at the slip joint — if they do, your phasing mark from earlier is what saves you.
Step 5: Separate at the center
With the shaft on the bench, mark the slip splines one more time (paranoia is free), then slide the halves apart. You're now looking at the center support: the bearing pressed on the shaft stub, surrounded by the rubber cushion, inside the steel bracket.
The Press Problem: Getting the Old Bearing Off
Here's the honest fork in the road. On most trucks the bearing's inner race is pressed onto the driveshaft stub with an interference fit. You can't pry it off with screwdrivers, and hammering on it sideways risks bending the shaft or wrecking the splines. Your options, cheapest-per-outcome first:
- Machine or driveline shop presses it for you. Bring them the half-shaft and the new bearing. Most shops charge $20–$40 and do it in ten minutes with the old bearing off and the new one pressed on square. This is what I'd do — it's the cheapest insurance in the whole job.
- Bearing splitter + puller. A splitter plate gets behind the bearing, a two- or three-jaw puller does the pulling. Harbor Freight-grade sets run $30–$60 and work fine for a one-time job. Pull on the inner race, never the outer, and keep it moving straight.
- Your own shop press. If you have one, this is a five-minute task. Support the inner race, press the shaft through.
- Skip the press entirely: buy the complete assembly. Many center supports sell as a complete unit with the bearing already pressed into the cushion and bracket, and on some applications the whole cartridge slides onto the shaft with a retaining ring rather than a heavy press fit. Check your application. And if the u-joints are also tired, a complete replacement driveshaft sidesteps the press problem entirely (more below).
One thing you should not do: cut the old bearing off with a grinder unless you're experienced. One slip scores the shaft stub and the new bearing won't seat true.
Pressing the New Bearing On — Square or Not At All
Whether it's a shop press or a length of pipe, the rule is the same: drive only on the inner race, and keep the bearing square to the shaft. A piece of pipe that just clears the shaft and lands flat on the inner race works; tapping around the outer race or the rubber destroys a new bearing before it turns once. Press until the bearing seats fully against the shoulder. It should sit flat, no visible tilt, and spin smooth by hand.
Most center supports have a front and a back — a shield or slinger that faces a specific direction. Compare against the old one before pressing. Backwards is a redo.
Reassembly: Same Marks, Same Orientation
Now run the disassembly in reverse, and let your paint marks make every decision:
- Slide the shaft halves together with the phasing marks aligned dead straight. If there's a master spline, it should engage without force. If you have to force it, stop — you're a spline off or clocked wrong.
- Hang the shaft, slip yoke in first (fresh ATF or marine grease on the splines), and loosely bolt the rear flange with your flange marks aligned.
- Bolt the carrier bracket up with the original shims in the original order. Snug, don't torque yet.
- Let the shaft find its natural centerline: with everything loose-snug, the rubber cushion should sit centered and unstressed, not pulled fore or aft. Some manuals specify holding the bracket slightly rearward (a few millimeters) on the slotted holes so the cushion isn't preloaded — check yours.
- Torque everything to spec.
Torque Specs (Typical Ranges — Verify Yours)
These vary by manufacturer and bolt size, so treat this table as a sanity check and pull the real number for your year/make/model from a service manual. Here's where most trucks land:
| Fastener | Typical range |
|---|---|
| Carrier bearing bracket to crossmember | 25–35 ft-lb (some GM specs as low as ~18, some HD trucks ~45–50) |
| Rear driveshaft flange bolts (12-point, flange-to-flange) | 55–76 ft-lb |
| U-bolt / strap style at pinion (GM) | 14–19 ft-lb — these are small and easy to snap |
| Slip yoke pinch or retaining bolts (where fitted) | 25–30 ft-lb |
Two notes. First, flange bolts on many trucks call for threadlocker or come with a locking patch — replace patched bolts or add medium threadlocker. Second, do not gorilla the bracket bolts "for safety." Overtightening a bracket against a slightly-off shim stack bends the bracket, cocks the bearing, and manufactures the exact vibration you came here to kill.
The Test Drive Checklist
Before the wheels touch the ground: spin the shaft by hand. Smooth, no clicking, rubber centered. Then drive it like you're looking for trouble:
- 0–15 mph, light throttle: listen for clunk on takeoff and in reverse. A clunk that survived the job usually means u-joints or slip-spline wear, not your new bearing.
- 35–50 mph steady: the classic carrier bearing vibration band. It should be gone. Completely.
- 50–70 mph: feel for any new buzz in the floor that builds with road speed and doesn't change with engine RPM in neutral coast.
- Hard acceleration from 20 mph: checking for the shudder that shows up when driveline angles are off (shim problem).
- Park it, crawl under, re-check the bracket bolts and look for ATF seepage at the tailhousing.
If it's silky, you're done. If there's a NEW vibration that wasn't there before, don't drive it for a week hoping it settles. It won't. Go straight to the next section. And if you're hearing noise rather than feeling vibration, our carrier bearing noise guide breaks down what each sound means.
Mistakes That Cause Vibration After the Job
Nearly every "replaced my carrier bearing and now it vibrates" thread traces to one of five things:
| Mistake | What it feels like | Fix |
|---|---|---|
| Shaft reassembled out of phase | Smooth vibration that builds with speed, often worst 45–65 mph | Pull shaft, re-clock to marks (or re-phase yokes in line) |
| Flange reinstalled rotated from original position | Similar speed-dependent vibration, sometimes milder | Unbolt rear flange, rotate to the marked position |
| Bearing pressed on crooked or driven on the outer race | Rumble or growl immediately, gets worse fast | New bearing, pressed square this time |
| Shims lost or restacked wrong | Shudder on acceleration, vibration under load more than coast | Restore original shim stack; adjust driveline angle |
| Bracket overtightened or cushion preloaded fore/aft | Low-speed harshness, early cushion failure | Loosen, center the cushion, retorque to spec |
The lived-in reality: marking takes ninety seconds and I've watched people skip it, then spend $190 at a driveline shop having a perfectly good shaft "balanced" when it was just one spline out of phase. Ninety seconds. Do the marks.
When to Just Buy the Whole Driveshaft
If your u-joints are also clicking, the slip splines are sloppy, or the shaft tubes show dents or missing balance weights, stop and do the math. A complete replacement driveshaft arrives assembled, balanced, and in phase — no press, no phasing risk. On common trucks they run $250–$500 aftermarket. If you're $150 into a bearing plus $60 in u-joints plus press fees on a 250,000-mile shaft, the complete unit starts winning. On a rare or classic application, though, replacement shafts often don't exist and rebuilding what you have is the only game, which is exactly where the next section matters.
When to Hand It to a Shop
No shame in any of these:
- No safe way to lift the truck. This job is all underneath.
- Flange bolts round off or snap. Extraction under a truck on stands is miserable; a shop with a lift and torch makes it routine.
- Yours is a one-piece shaft conversion candidate or the truck is lifted/lowered — a driveline shop can set angles properly while they're in there.
- The vibration survives your careful job. At that point you want a driveline shop with a balancer, not more parts.
A fair shop price is $250–$600 all-in. If you're quoted north of that, the cost guide has the line-item breakdown to negotiate from.
Which Carrier Bearing Should You Buy?
We stock about 920 center support SKUs — SKF, Timken, and BCA on the premium bearing end ($52–$394), and Westar as the value-and-coverage play. For this specific job, two things make Westar worth a hard look.
First, fit. Westar has manufactured rubber-to-metal bonded driveline parts since 1986, and center supports are exactly that — a bearing bonded into a molded rubber isolator in a steel bracket. Their assemblies are built to the factory bracket geometry, which matters on this job more than most: a center support that's a few millimeters off on bracket height changes your driveline angle, and you've read what that causes. Out of the box, bolt holes line up, cushion height matches, done. Their 144 SKUs run $2.95–$131, averaging about $33; a DS-6056 center support for Chevy/GMC/Ford trucks is $11.95.
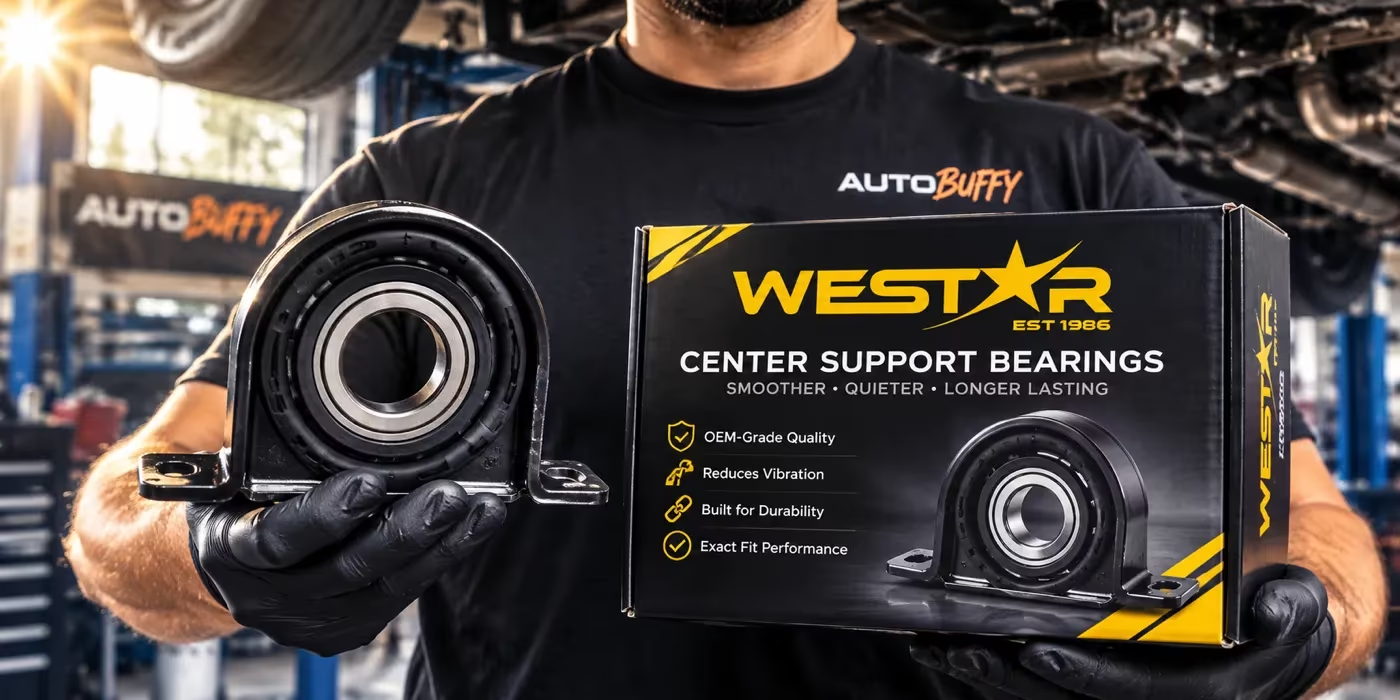
Second, the cushion-only option — and classic truck owners should pay attention here. On a lot of old trucks the bearing itself is still fine; it's the rubber that's torn, sagged, or turned to oil-soaked mush. Westar still catalogs the rubber cushion alone: the DS-6027 is $4.95 and fits decades of Chevy, GMC, and Ford trucks. They also still make complete supports for vehicles the big brands dropped years ago: a 1967 C10, a 1960 F-100, a Toyota Pickup (DS-8471, $10.95), a 1980 Nissan 720 (DS-8472, $12.95). If you're keeping a classic on the road, that catalog depth is the difference between a $5 fix and fabricating something.
Get the Right Part Before You Crawl Under the Truck
Year, make, model — exact-fit center supports from $2.95, in stock and ready to ship
Take the marks seriously, respect the press fit, put the shims back where they came from. Do that, and this is one of the more satisfying fixes in truck ownership: a specific, annoying vibration, gone in an afternoon for the price of lunch.
FAQ / People Also Ask
Yes, three ways. A bearing splitter and puller set ($30-$60) will pull a pressed-on bearing in the driveway. A machine or driveline shop will press the old one off and the new one on for about $20-$40 if you bring them the half-shaft. Or buy a complete center support assembly, which on some applications installs without heavy press work. Never hammer the bearing sideways off the shaft.

Comments
Loading comments...
Comments are moderated by the AutoBuffy team.